|
PaintShopPro ***
Aurane *** Ce tutoriel a été réalisé dans PSP XII mais peut être effectué dans les autres versions PSP *** Pour faire ce tutoriel vous aurez besoin :
Matériel : ** Filtre AAA Filters ICI à installer dans le dossier du filtre AAA Filters ** Filtre Unplugged Effets ICI - Installer dans votre dossier Filtres ** Filtre Graphic PLus ICI - Installer dans votre dossier Filtres ** Filtre Pentacom ICI - Installer dans votre dossier Filtres ** Filtre Alien Skin Eye Candy Impact 5 ICI - Presets : ICI Installer dans le dossier Shadows de votre Filtre ** Vyp_Selections_Aurane ICI - Installer dans votre dossier Selections de My PSP File ** Preset éclairage ICI Installer dans votre dossier Paramètres par défauts de My PSP File ** Tubes de Jet, Sharlimar et Devilsinside ICI avec leur autorisation . Je les en remercie. Les tubes sont offerts à usage personnel Vous n'avez pas la permission de placer ces tubes sur un autre site sans la permission du créateur ***
*** 1 - Open your tubes and close duplicate originals
2 - Set foreground on color #dcdca4 and set background on color #424108 3 - Configure gradient: style linear/ angle: 45°/Repeats: 3
4 - Open a transparant : 800 x 550 pixels floodfill with color #dcdca4
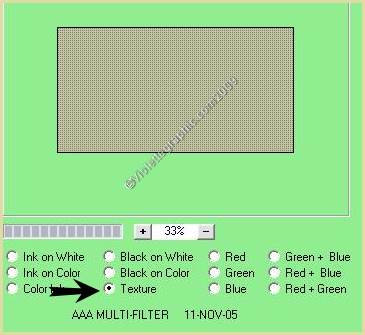
5 - Effects/AAA Multi-Filters/Texture :
6 - Adjust/Sharpen/Sharpen
7 - Layers/New Layer 8 - Selections/load/ load from disk and find: Vyp_aurane01.PspSelectionfloodfill with color #424108
9 - Effects/Graphic Plus /Cross Shadow settings at default 10 - Effects/Pentacom/jeans settings at default
11 - Open the Devilsinside_350_2009 .psp tube Edit/Copy/Edit/Paste as a new layer
NO DESELECT
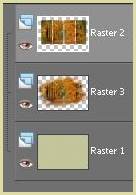
12 - Select/promote selection to layer
13 - Activate Raster 2 Layers/arrange/Move in top of the pile
14 - Activate the top layer Merge the layer with the below Layer
Select/None
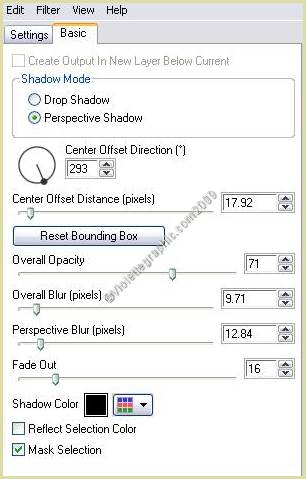
15 - Effects/Alien Skin Eye Candy Impact /Perspective Shadow /Drop Shadow Blurry Preset Vyp_shadow_aurane01.f1s
16 - Activate layer 3 Layers/Duplicate Image/Resize 200 %/ resize all layers not checked
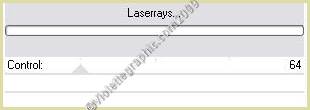
17 - Activate the original tubeEffects/Unplugged Effets/Laserrays
Opacity to 55%
18 - Activate the copyBlend Mode : Multiply
19 - Activate the top layer
20 - Effects/Illumination Effects /Lights Appliquer le Preset_light_Vyp_aurane01.PspScript
21 - Set foreground on color #b4a546 and set background on color #232315 Configure gradient: style linear/ angle: 180°/Repeat: 1/invers checked
22 - Layers/New Layer Selections/load/ load from disk and find: Vyp_aurane02.PspSelectionfloodfill with gradient
23 - Effects/Alien Skin Eye Candy Impact /Perspective Shadow /Drop Shadow Blurry Preset Vyp_shadow_aurane02.f1s
24 - Effects/Illumination Effects /Lights Appliquer le Preset_light_Vyp_aurane01.PspScript
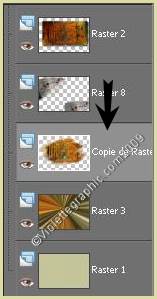
25 - Activate layer copy raster3
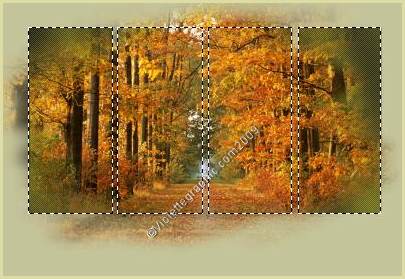
26 - Open the 404_autumn .pspimage tubeEdit/Copy/Edit/Paste as a new layer * no move the tube *
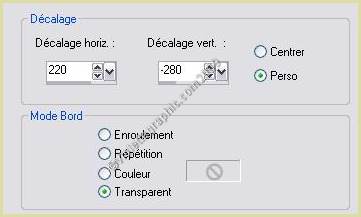
27 - Effects/Image Effects/Offset: 220/-280/ Custom/Transparent
Blend Mode : Soft Light
28 - Effects/Image Effects/seamless tiling at default
29 - Open the jet-woman8_september_2008.pspimage tubeEdit/Copy/Edit/Paste as a new layer * no move the tube * Image/Resize 70 %/ resize all layers not checked
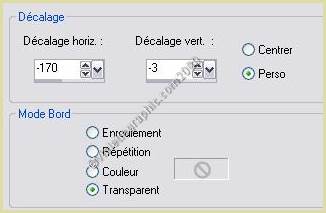
30 - Effects/Image Effects/Offset: -170/-3/ Custom/Transparent
31 - Layers/Duplicate
32 - Activate the original tubeAdjust/Blur/Gaussian Blur : 20
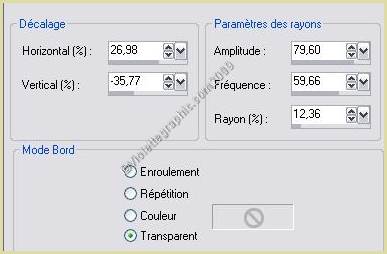
Effects/ Distortion Effects /Spiky halo
Blend Mode : Overlay
33 - Activate the copy Effects/Alien Skin Eye Candy Impact /Perspective Shadow: Drop Shadow ,Blurry Preset Vyp_shadow_aurane01.f1s
34 - Image/Add borders: 2 pixels color #4b4715 Edit/Copy
35 - Image/Add borders: 40 pixels color #ffffff Select the edge with magic wand Edit/Paste Into Selection
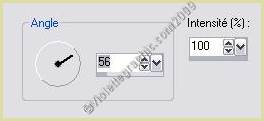
36 - Adjust/Blur/Motion Blur :
Select/Invers
37 - Effects/3D Effects/Drops Shadow : 5/5/50/5/color #000000Repeat with negative values: -5 in vertical and horizontal shift Select/None
38 - Image/Add borders: 2 pixels color #4b4715
39 - Activate your Text tool /Font Calligrapher/Size on 72/ Vectorial
Background on color: #c55219 Type the name: AuraneLayer /Convert to rasterlayer Blend Mode : Multiply
40 - Effects/3D Effects/Drops Shadow : 5/5/50/5/color #000000decorate with tubes sheets (each sheet on a copy in order to move them according to your tastes)
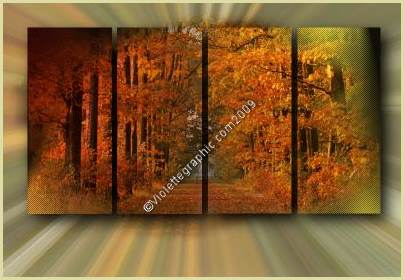
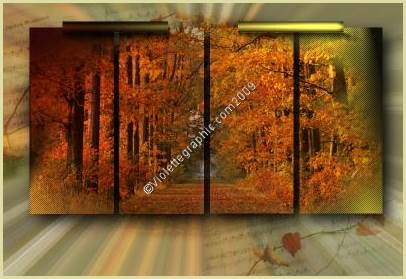
41 - Type your name 42 - Layers / Merge/ Merge all 43 -Exported JPEG Optimiser
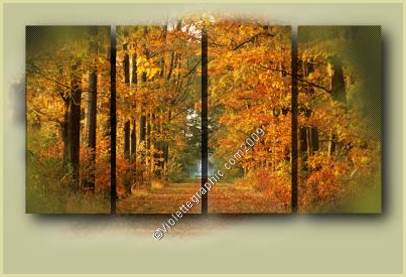
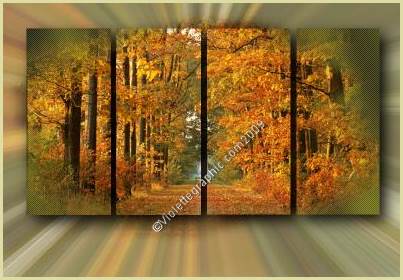
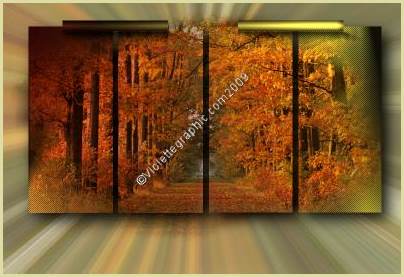
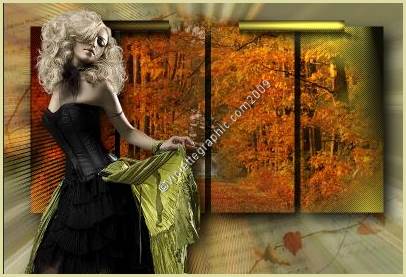
Another version:
This tutoriel is of my creation It is strictly interdict to copy it or to distribute it on the Net *** September 16, 2009 ***
|