PaintShopPro
***
![]()
![]()
![]()
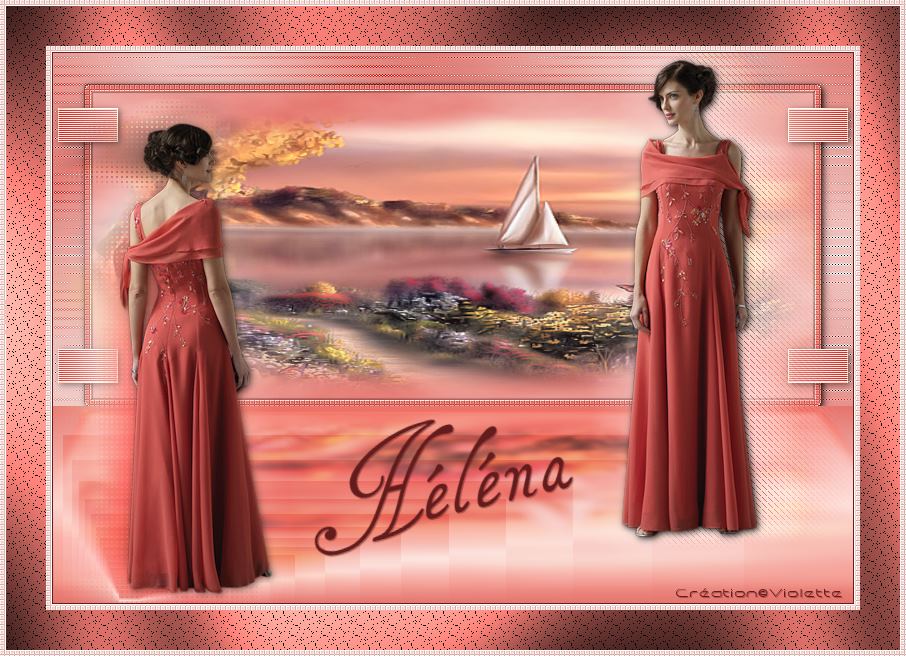
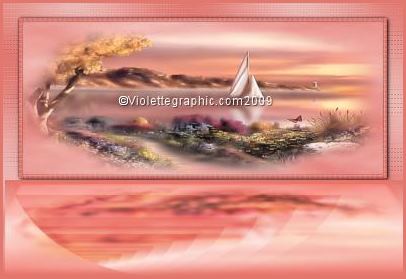
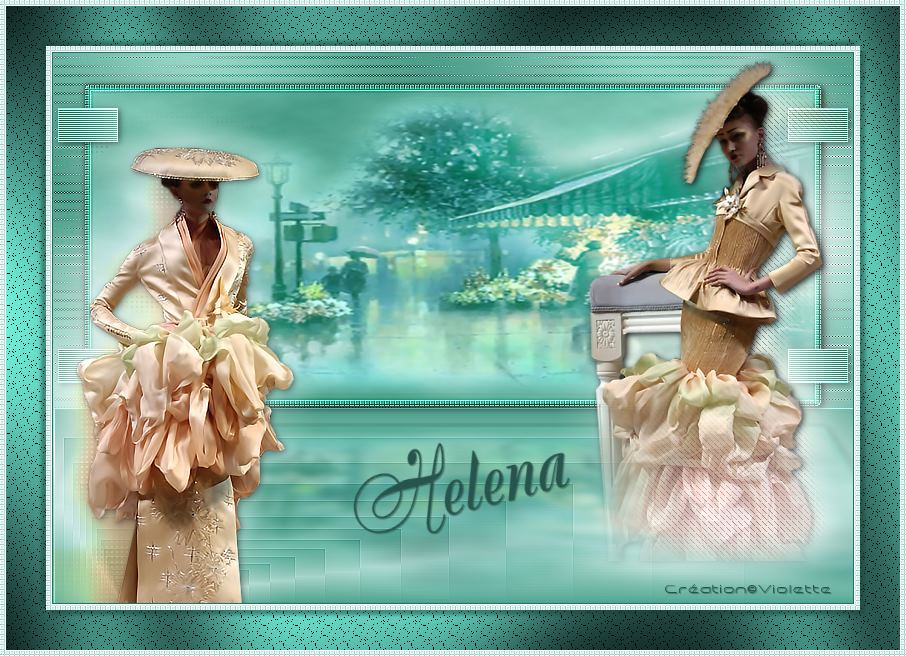
Hélèna
***
This tutorial is made with PSP XII but can be carried out in other versions too
***
Supplies :
** Filter Unlimited ICI - install in to your psp plug in folder
** Filter L&K Zita ICI - install in to your psp plug in folder
** Filter Xero ICI - install in to your psp plug in folder
** Filter Alien Skin Eye Candy Impact 5 ICI - Presets : ICI install in to your shadow plug in folder
** Vyp_Selections_helena ICI - Install in to your psp select folder
** Tubes Hanne and Suzi ICI with their autorization ICI .
** Font Tagettes ICI
The tubes are offered to personal use
You do not have the permission to place these tubes on another site without the permission of the creator
***
|
|
Cette flèche pour marquer votre ligne
Clic gauche pour la déplacer |
***
1 - Open your tubes and close duplicate originals
***
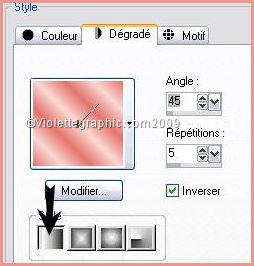
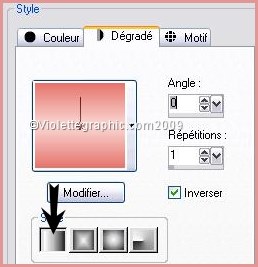
2 - Set foreground on color #
f9d7d3 and set background on color #e5746c3 - Configure gradient: style linear/angle: 45/ Repeats: 5
4 -
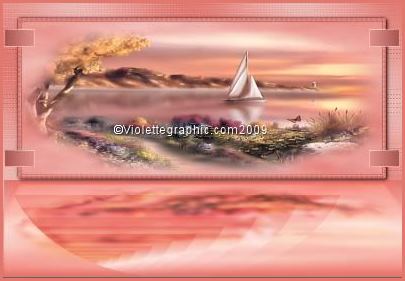
Open a transparent image of 800 x 550 pixelsfill with gradient
5 - Adjust/Blur/Gaussian Blur : 40
6 - Effects/Filter L&K Zitha :
Effects/Edge effects/Enhance
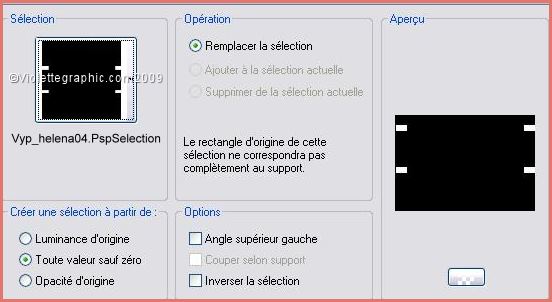
9 - Layers/New Layer
Selection/charge/charge a selection/charge starting from the disc
to choose selection "Vyp_Helene01.PspSelection"
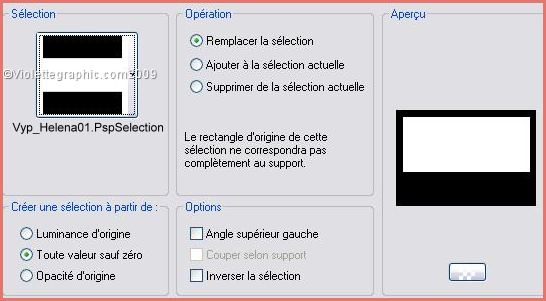
8 - fill color #e5746c
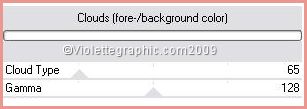
Effects/Filter Unlimited/Render/Clouds( Foreground/background):
9 - Layers/New Layer
Open the SS- 1536 _Misted.pspimage tube
Edit/Copy/Edit/Paste Into Selection
KEEP SELECTED 10 -
Layers/New Layer Selections/Modify/Select selection borders:
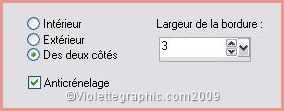
fill with color #e5746c
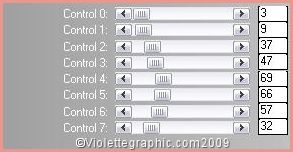
11 - Effects/Filter Xero/Fritilary :
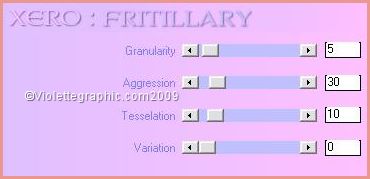
Effects/Edge effects/Enhance
12 -
Effects/3D Effects/Drops Shadow :
Repeat with negative values: -3 in vertical and horizontal shift
Select/None
13 - Activate Raster 3
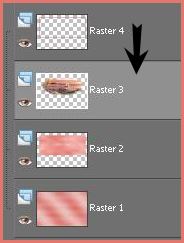
Activate the Deform Tool and to draw over all the width
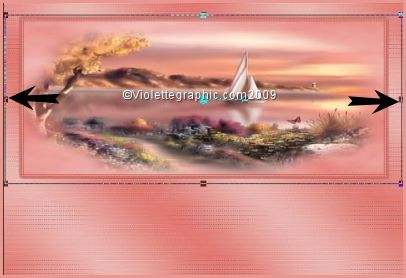
Select/None
14 - Activate the Raster 4
Merge the layer with the below Layer
two onces
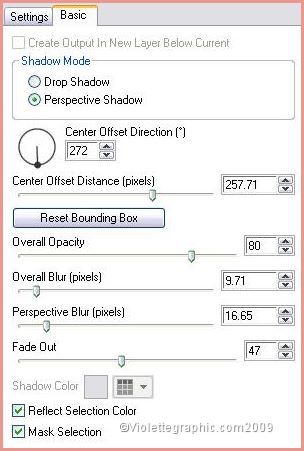
15 - Effects/Alien Skin Eye Candy Impact /Perspective Shadow /Reflect in Front
preset "Vyp_Helena01.f1s" /OK
16 - On the same raster
Selection/charge/charge a selection/charge starting from the disc
to choose selection
"Vyp_Helena02.PspSelection"Selection/promote selection to layer
17 - Activate the Raster 2
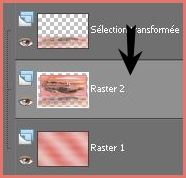
hit your delete key
Select/None
18 - Activate the bottom layer
Blend Mode on : Right Light
Opacity to 78%
19 - Activate layer 2
Effets/Alien Skin Eye Candy Impact /Perspective Shadow /Drop Shadow Lowest
settings by defect
20 - Activate the layer 1
Layers/New Layer
Selection/charge/charge a selection/charge starting from the disc
new to choose selection "Vyp_Helene02.PspSelection"
fill with gradient linear/angle: 0/ repeat: 1/ invers checked
Effects/Feedback :
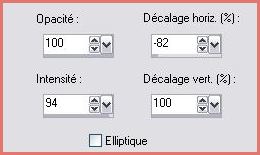
Select/None
23 - Activer the bottom layer
Layers/New Layer
Selection/charge/charge a selection/charge starting from the disc
to choose selection "Vyp_Helene03.PspSelection"
24 - Fill with gradient linear/angle: 90/ repeats: 5/ invers checked
Effects/Textures Effects/Blinds:
Select/None
Effects/Edge effects/Enhance
25 -
Effets/Alien Skin Eye Candy Impact /Perspective Shadow /Drop Shadow LowestOpacity to 43%
26
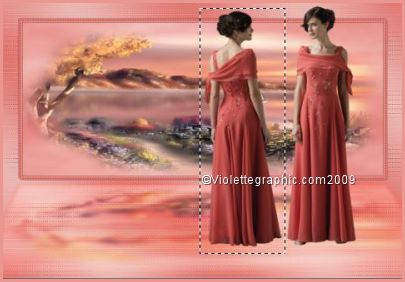
- Activate the tube Hanne_Girls
Image/Resize 80 %/
Adjust/Sharpen/Sharpen
Edit/Copy/Edit/Paste as a new layer
27 -
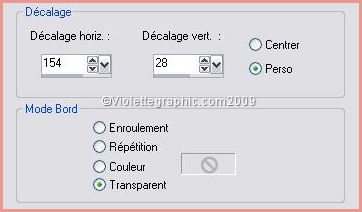
Effects/Image Effects/Offset: 154/28/ Custom/Transparent
28 - Activate the Selection Tool
trace a selection on the woman of left
29 - Edit/Cut
Select/None
Edit/Copy/Edit/Paste as a new layer
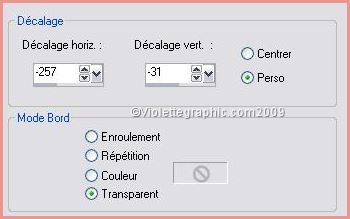
30
-
Effects/Image Effects/Offset: -257/-31/ Custom/Transparent
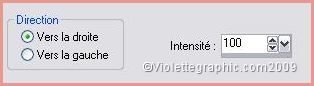
31 - Activate the right tube
Duplicate
close the copy
activate the original tube
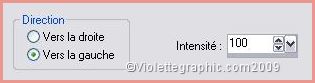
Adjust/Blur/Gaussian Blur : 20
Effects/Distortion Effects/wind to right: 100
32 - Effects/L&K/ Frederieck:
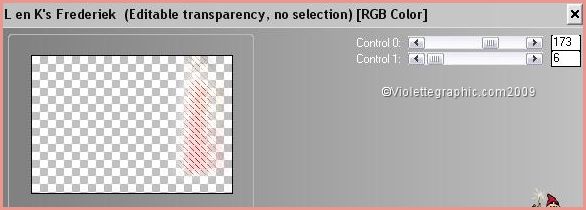
33
- Activate the copy layerEffets/Alien Skin Eye Candy Impact /Perspective Shadow /Drop Shadow Lowest
settings at default
34 - Activate the bottom layer
Duplicate
close the copy
activate the original tube
Adjust/Blur/Gaussian Blur : 20
Effects/Distortion Effects/wind to left: 100
35 - Effects/L&K/ Djinn:

36 - Activate the copy layer
Effets/Alien Skin Eye Candy Impact /Perspective Shadow /Drop Shadow Lowest
Opacity to 43%
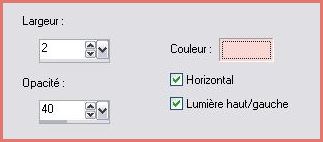
37 - Image/Add borders : 1 pixel color #561a16
Select/Select all
38 - Image/Add borders : 6 pixels color #e5746c
Select/Invers
Effects/Xero/Fritillary
Effects/Edge effects/Enhance
39 - Select/Select All
Image/Add borders : 40 pixels color #e5746c
Select/Invers
40 - Effects/Filter Screenworks/Lace Screen
41 - Effects/Filter Graphic Plus/Cross Shadow
Select/Invers
42 - Effects/3D Effects/Drops Shadow : 5/5/40/5/noir
Repeat with negative values: - 5 in vertical and horizontal shift
43 - Select/Select All
Image/Add borders : 6 pixels color #e5746c
Select/Invers
Effects/Xero/Fritillary
Effects/Edge effects/Enhance
Select/None
44 -
Activate your Text tool /Font Tagettes/Size on 75/ VectorialBackground on color: #67575f
Type: Helena
puts it left below
Layer /Convert to rasterlayer
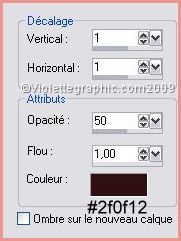
Give a dropshadow : 1/1/50/1/couleur #3b2330
45 - Type your name
46 - Layers / Merge/ Merge all
47 -Exported JPEG Optimiser
***
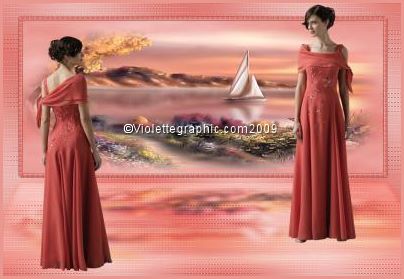
Another version:
![]()
This tutoriel is of my creation It is strictly interdict to copy it or to distribute it on the Net
***
April 19, 2009
***
![]()